Building Blog with Astro

I recently rebuilt my blog using Astro, which has been trending a bit lately. Let me introduce an overview of Astro.

Astro Overview
It is a content-focused Static Site Generator (SSG). The official website introduces it as follows:
Astro is an all-in-one web framework for building fast, content-focused websites.
Tools like Hugo and Jekyll are well-known as similar options, but I found the following to be the key features of Astro, especially the second point, Zero JS, by default, which may become more widely adopted in other frameworks in the future. For more details, please refer to an official page.

- Astro Islands: Divides areas on a page into Islands, allowing use of HTML, React, Vue, etc., for each.
- Zero JS, by default: Converts as much as possible to HTML during build, rendering fast by not generating JavaScript.
Play with Astro
I will introduce setup using an official blog template. An official tutorial is also available, so please refer to it for more details.

Setting Up
Please run npm create astro@latest. After following prompts, setting up will be completed.
You can start a development server with npm run dev or astro dev. By default, it listens for requests at http://localhost:4321/.
npm create astro@latest

 astro   Launch sequence initiated.

   dir   Where should we create your new project?
         ./

  tmpl   How would you like to start your new project?
         Use blog template
 ██████  Template copying...

  deps   Install dependencies?
         Yes
 ██████  Installing dependencies with npm...

    ts   Do you plan to write TypeScript?
         Yes

   use   How strict should TypeScript be?
         Strict
 ██████  TypeScript customizing...

   git   Initialize a new git repository?
         Yes
 ██████  Git initializing...

  next   Liftoff confirmed. Explore your project!
         Run npm run dev to start the dev server. CTRL+C to stop.
         Add frameworks like react or tailwind using astro add.

         Stuck? Join us at https://astro.build/chat

╭─────╮  Houston:
│ ◠ ◡ ◠  Good luck out there, astronaut! 🚀
╰─────╯
Directory Structure
Here is directory structure immediately after installation. If you have experience with frontend development, you may understand roles of each directory by looking at the structure. For more details, please refer to an official page.

tree --dirsfirst -I dist -I node_modules

.
├── public
│   ├── fonts
│   │   ├── atkinson-bold.woff
│   │   └── atkinson-regular.woff
│   ├── blog-placeholder-1.jpg
│   ├── blog-placeholder-2.jpg
│   ├── blog-placeholder-3.jpg
│   ├── blog-placeholder-4.jpg
│   ├── blog-placeholder-5.jpg
│   ├── blog-placeholder-about.jpg
│   └── favicon.svg
├── src
│   ├── components
│   │   ├── BaseHead.astro
│   │   ├── Footer.astro
│   │   ├── FormattedDate.astro
│   │   ├── Header.astro
│   │   └── HeaderLink.astro
│   ├── content
│   │   ├── blog
│   │   │   ├── first-post.md
│   │   │   ├── markdown-style-guide.md
│   │   │   ├── second-post.md
│   │   │   ├── third-post.md
│   │   │   └── using-mdx.mdx
│   │   └── config.ts
│   ├── layouts
│   │   └── BlogPost.astro
│   ├── pages
│   │   ├── blog
│   │   │   ├── [...slug].astro
│   │   │   └── index.astro
│   │   ├── about.astro
│   │   ├── index.astro
│   │   └── rss.xml.js
│   ├── styles
│   │   └── global.css
│   ├── consts.ts
│   └── env.d.ts
├── README.md
├── astro.config.mjs
├── package-lock.json
├── package.json
└── tsconfig.json
Content Collections
Overview
Contents such as blog posts are managed as collections. For details, please refer to an official page.
Create any directory under src/content/ and place Markdown files inside that directory. MDX is also available. Below is a part of blog/first-post.md.
---
title: 'First post'
description: 'Lorem ipsum dolor sit amet'
pubDate: 'Jul 08 2022'
heroImage: '/blog-placeholder-3.jpg'
---

Lorem ipsum dolor sit amet, consectetur adipiscing elit, sed do eiusmod tempor incididunt ut labore et dolore magna aliqua.
...
Collection Definition
Users can define metadata (frontmatter) and types for contents within src/content/config.ts using Zod. Although it is possible to use without defining collections, it is strongly recommended to define collections as mentioned in an official page to avoid spoiling benefits.
The
src/content/config.tsfile is optional. However, choosing not to define your collections will disable some of their best features like frontmatter schema validation or automatic TypeScript typings.
The following is config.ts just after the setup.
import { defineCollection, z } from 'astro:content';

const blog = defineCollection({
  // Type-check frontmatter using a schema
  schema: z.object({
    title: z.string(),
    description: z.string(),
    // Transform string to Date object
    pubDate: z.coerce.date(),
    updatedDate: z.coerce.date().optional(),
    heroImage: z.string().optional(),
  }),
});

export const collections = { blog };
| Key | Type | Mandatory |
|---|---|---|
| title | string | Y |
| description | string | Y |
| pubDate | Date | Y |
| updatedDate | Date | N |
| heroImage | string | N |
Using Collections
You can access collections using functions like getCollection and getEntry.
Frontmatter is stored within data object. For example, you can access it with code like the following:
---
import { getEntry } from 'astro:content';

const blogPost = await getEntry('blog', 'welcome');
---

<h1>{blogPost.data.title}</h1>
<p>{blogPost.data.description}</p>
Pages
Routing
It is file-based. Files placed under pages become routings as they are. In an example just after the setup, you can access them as follows:
| File | URL |
|---|---|
pages/index.astro | https://<YOUR_DOMAIN>/ |
pages/about.astro | https://<YOUR_DOMAIN>/about/ |
pages/blog/index.astro | https://<YOUR_DOMAIN>/blog/ |
Dynamic routing is also possible. Use [...NAME] as a directory name or file name. In an example just after the setup, blog/[...slug].astro is using dynamic routing.
The [...slug] part is defined as a return value of getStaticPaths function within the file. In blog/[...slug].astro, it sets slug: post.slug on line 8.
---
import { type CollectionEntry, getCollection } from 'astro:content';
import BlogPost from '../../layouts/BlogPost.astro';

export async function getStaticPaths() {
  const posts = await getCollection('blog');
  return posts.map((post) => ({
    params: { slug: post.slug },
    props: post,
  }));
}
type Props = CollectionEntry<'blog'>;

const post = Astro.props;
const { Content } = await post.render();
---

<BlogPost {...post.data}>
  <Content />
</BlogPost>
Page Structure
Pages, layouts, and components have a structure similar to typical frontend setups. Of course, you can also place components directly within pages.

Astro Components
If you have experience with React JSX/TSX, you should be able to handle it seamlessly. Here is a part of pages/index.astro. For more details, please refer to an official page.
---
import BaseHead from "../components/BaseHead.astro";
import Header from "../components/Header.astro";
import Footer from "../components/Footer.astro";
import { SITE_TITLE, SITE_DESCRIPTION } from "../consts";
// This will cause an error.
// const main = document.querySelector('main');
---
<!doctype html>
<html lang="en">
<head>
<BaseHead title={SITE_TITLE} description={SITE_DESCRIPTION} />
</head>
<body>
<Header title={SITE_TITLE} />
<main>
<h1>🧑🚀 Hello, Astronaut!</h1>
<!-- ... -->
</main>
<Footer />
<script>
// Use document, windoww, etc. here.
const main = document.querySelector('main');
</script>
</body>
</html>
An important point to note is that the content within --- is processed by Node.js. This is related to mentioned above “Converts as much as possible to HTML during build, rendering fast by not generating JavaScript.” Therefore, using objects like document, window, etc., will result in errors. If you want to use them, place them within <script> tags.
 error   document is not defined
  Hint:
    Browser APIs are not available on the server.

    Move your code to a <script> tag outside of the frontmatter, so the code runs on the client.

    See https://docs.astro.build/en/guides/troubleshooting/#document-or-window-is-not-defined for more information.
Rendering
Content component is available.
You can get Content from CollectionEntry. Here is a part of pages/blog/[...slug].astro. It gets rendered content at line 15 and places Content at an arbitrary location at line 19.
---
import { type CollectionEntry, getCollection } from 'astro:content';
import BlogPost from '../../layouts/BlogPost.astro';

export async function getStaticPaths() {
	const posts = await getCollection('blog');
	return posts.map((post) => ({
		params: { slug: post.slug },
		props: post,
	}));
}
type Props = CollectionEntry<'blog'>;

const post = Astro.props;
const { Content } = await post.render();
---

<BlogPost {...post.data}>
	<Content />
</BlogPost>
If you want to directly import Markdown files, you can code like below.

---
import {Content as PromoBanner} from '../components/promoBanner.md';
---

<h2>Today's promo</h2>
<PromoBanner />
Building
Running npm run build or astro build will generate build artifacts in the dist/ directory. The following is an example of artifacts generated after building right after the setup. As you can see, no JavaScript is generated.
tree dist/ --dirsfirst

dist/
├── about
│   └── index.html
├── blog
│   ├── first-post
│   │   └── index.html
│   ├── markdown-style-guide
│   │   └── index.html
│   ├── second-post
│   │   └── index.html
│   ├── third-post
│   │   └── index.html
│   ├── using-mdx
│   │   └── index.html
│   └── index.html
├── fonts
│   ├── atkinson-bold.woff
│   └── atkinson-regular.woff
├── blog-placeholder-1.jpg
├── blog-placeholder-2.jpg
├── blog-placeholder-3.jpg
├── blog-placeholder-4.jpg
├── blog-placeholder-5.jpg
├── blog-placeholder-about.jpg
├── favicon.svg
├── index.html
├── rss.xml
├── sitemap-0.xml
└── sitemap-index.xml
Other Topics
Image Component
From Astro, Image component is provided. When you use the Image component with images placed under src/, it optimizes them (converts to webp) during the build. Images placed under public/ are not optimized, so it is recommended to place them under src/.

We recommend that local images are kept in src/ when possible so that Astro can transform, optimize and bundle them.
Tailwind CSS
Astro supports Tailwind CSS. By running npx astro add tailwind, install the integration.
npx astro add tailwind

✔ Resolving packages...

  Astro will run the following command:
  If you skip this step, you can always run it yourself later

 ╭────────────────────────────────────────────────────╮
 │ npm install @astrojs/tailwind tailwindcss@^3.0.24  │
 ╰────────────────────────────────────────────────────╯

✔ Continue? … yes
✔ Installing dependencies...

  Astro will generate a minimal ./tailwind.config.mjs file.

✔ Continue? … yes

  Astro will make the following changes to your config file:

 ╭ astro.config.mjs ───────────────────────────────╮
 │ import { defineConfig } from 'astro/config';    │
 │ import mdx from '@astrojs/mdx';                 │
 │ import sitemap from '@astrojs/sitemap';         │
 │                                                 │
 │ import tailwind from "@astrojs/tailwind";       │
 │                                                 │
 │ // https://astro.build/config                   │
 │ export default defineConfig({                   │
 │   site: 'https://example.com',                  │
 │   integrations: [mdx(), sitemap(), tailwind()]  │
 │ });                                             │
 ╰─────────────────────────────────────────────────╯

✔ Continue? … yes

   success  Added the following integration to your project:
  - @astrojs/tailwind
astro add tailwind executes the following:
npm install @astrojs/tailwind [email protected]- Generating
tailwind.config.mjs(Tailwind CSS configuration) - Adding
tailwind()tointegrationsinastro.config.mjs
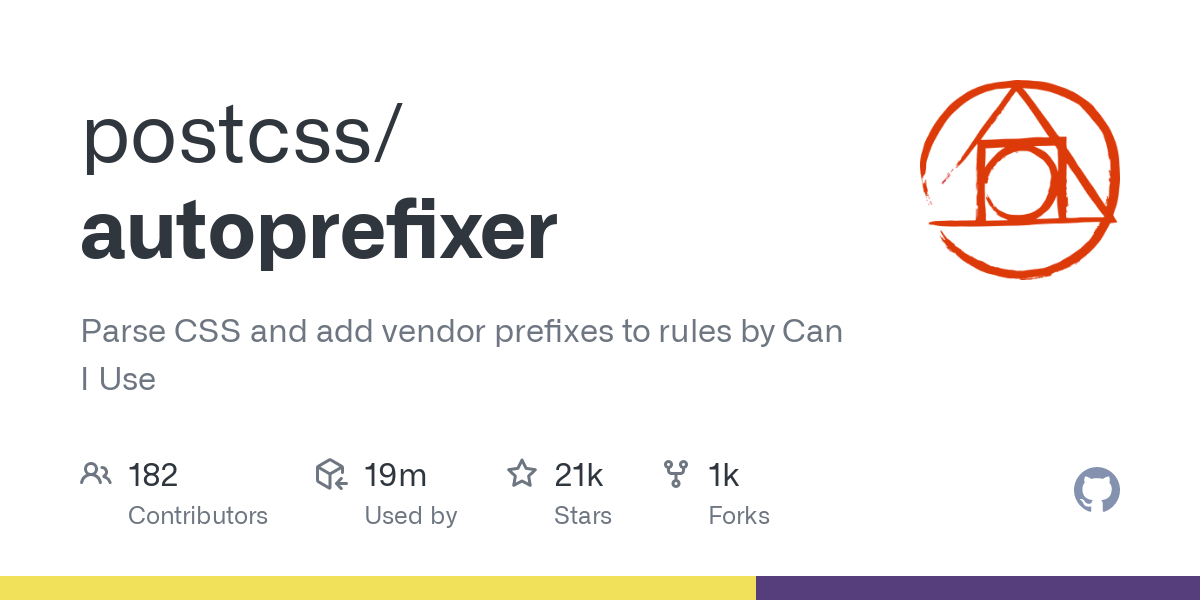
Autoprefixer will be installed together.
Then, you can write classes provided by Tailwind at class like the following.
<body>
  <Header />
  <main class="ml-2">
    ...
  </main>
  <Footer />
</body>
Integrations
You can extend functionality through a mechanism called Integration. The above-mentioned Tailwind CSS support is one such Integration. For details, please refer to an official page.

IDE Support
| IDE | Provided By | Stability |
|---|---|---|
| VS Code | Astro | Stable |
| JetBrains | JetBrains | As of Nov. 2023, not stable |