Authenticating using AWS Amplify with Amazon Cognito and Azure Entra ID (Azure AD)

Amazon Cognito user pools support SAML-based identity providers, as explained in an official documentation.
This post will guide you through authentication using AWS Amplify with Amazon Cognito and Azure Entra ID.

Overview
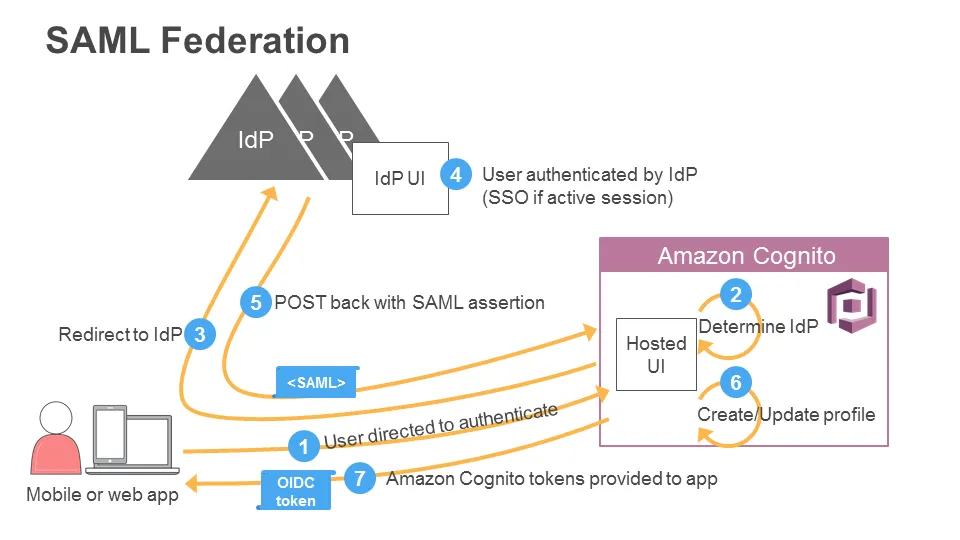
The following diagram is quoted from an official documentation.
Cloud Resources
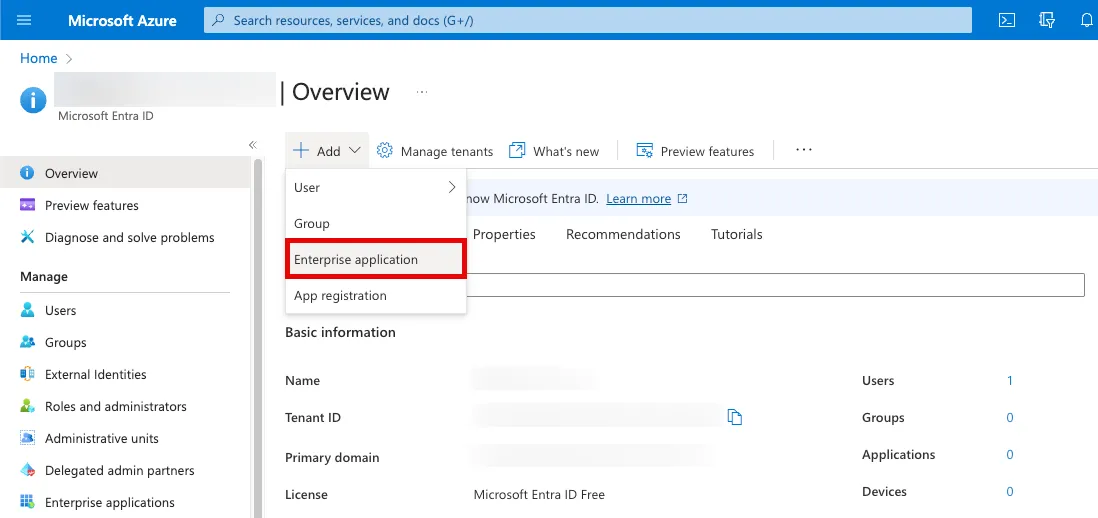
Creating Azure Entra ID
Create an Entra ID according to the following steps.
Navigate to Microsoft Entra ID.

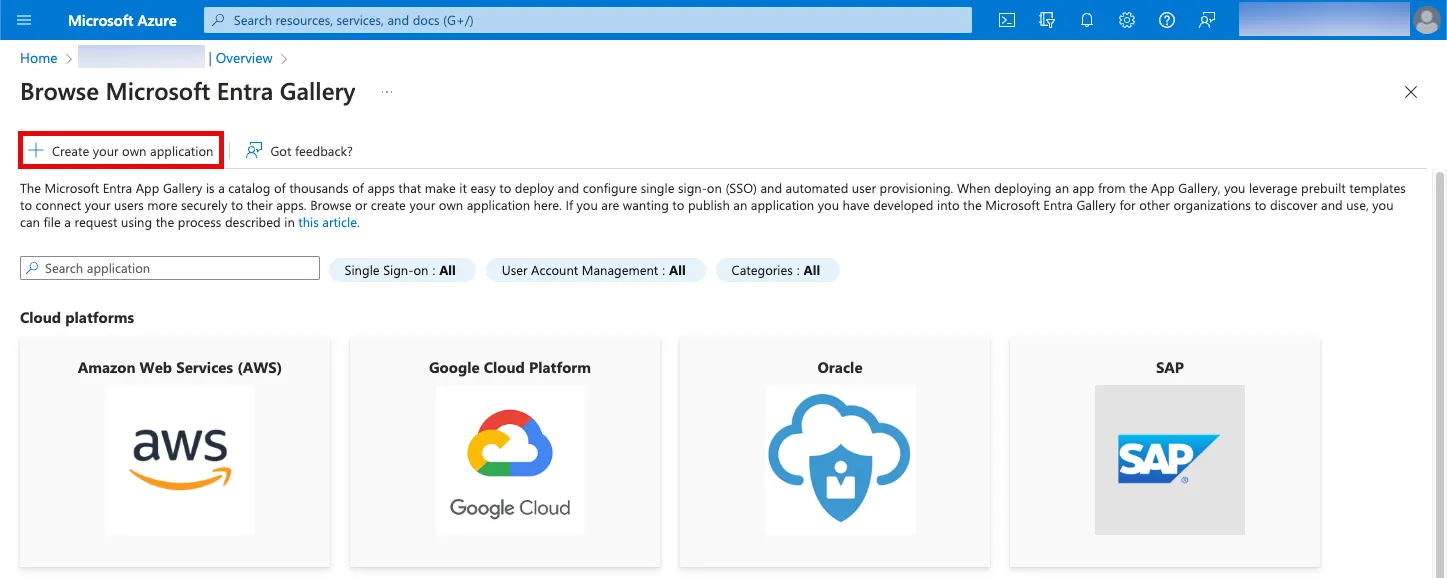
Click Add > Enterprise application.
Click Create your own application.
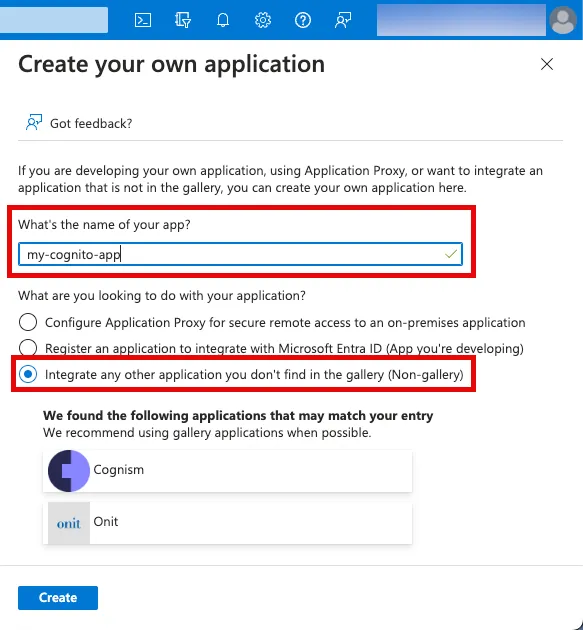
Complete creating the application after entering my-cognito-app as the app name and selecting Integrate any other application you don't find in the gallery (Non-gallery)
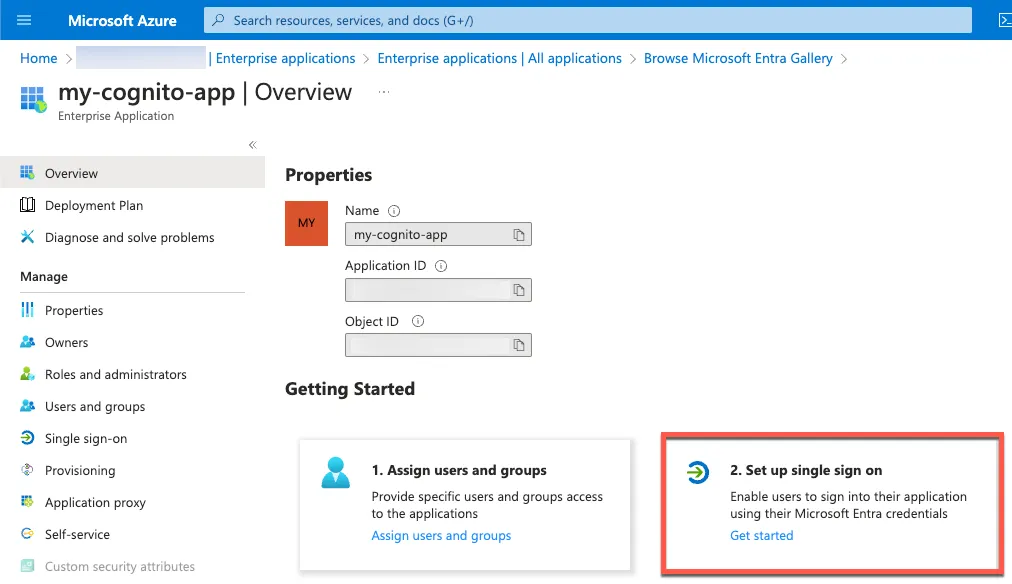
Navigate to Set up single sign on.
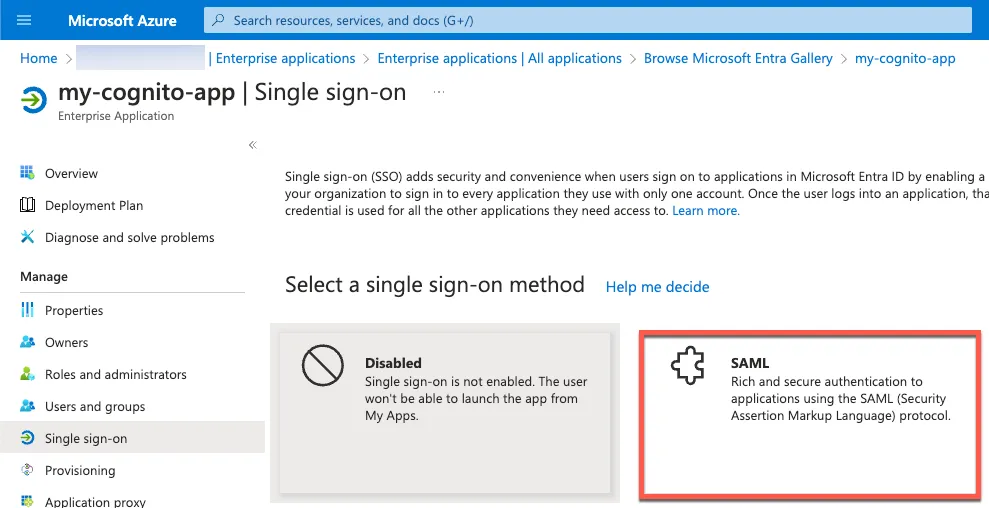
Select SAML.
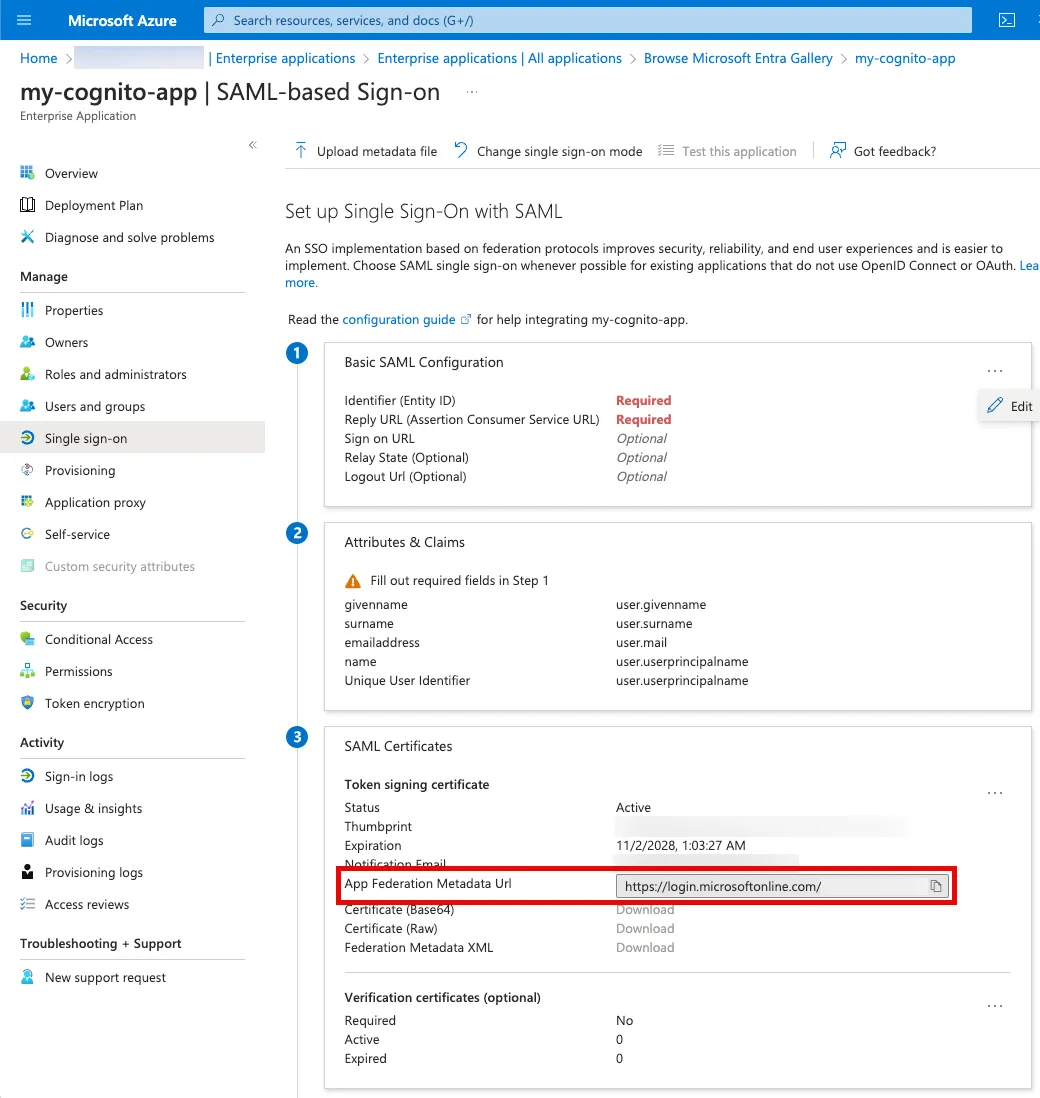
Copy a metadata url.
Creating Amazon Cognito User Pool
To create a Cognito user pool, create cognito.yaml CloudFormation template with the following content.
Attribute mapping URLs (line 33-35) can be found in the metadata url. For further details on SAML 2.0 requests and responses supported by Entra ID, please refer to an official documentation.
The scope aws.cognito.signin.user.admin (line 51) is required to query user information from frontend apps using Amplify. For more information, please refer to an official documentation.
AWSTemplateFormatVersion: 2010-09-09
Description: Cognito user pool federated with Azure Entra ID

Parameters:
  Domain:
    Type: String
    Description: Cognito user pool domain
  CallbackURLs:
    Type: CommaDelimitedList
    Default: 'http://localhost:3000/'
  LogoutURLs:
    Type: CommaDelimitedList
    Default: 'http://localhost:3000/'
  MetadataURL:
    Type: String
    Description: SAML metadata url of your Azure Entra ID

Resources:
  CognitoUserPool:
    Type: AWS::Cognito::UserPool
    Properties:
      UserPoolName: cognito-federated-with-azure-entra-id

  CognitoUserPoolDomain:
    Type: AWS::Cognito::UserPoolDomain
    Properties:
      Domain: !Ref Domain
      UserPoolId: !Ref CognitoUserPool

  CognitoUserPoolIdentityProvider:
    Type: AWS::Cognito::UserPoolIdentityProvider
    Properties:
      AttributeMapping:
        email: 'http://schemas.xmlsoap.org/ws/2005/05/identity/claims/emailaddress'
        name: 'http://schemas.microsoft.com/identity/claims/displayname'
      ProviderDetails:
        IDPSignout: true
        MetadataURL: !Ref MetadataURL
      ProviderName: azure-entra-id
      ProviderType: SAML
      UserPoolId: !Ref CognitoUserPool

  CognitoUserPoolClient:
    Type: AWS::Cognito::UserPoolClient
    Properties:
      AllowedOAuthFlows:
        - code
      AllowedOAuthScopes:
        - email
        - openid
        - aws.cognito.signin.user.admin
      AllowedOAuthFlowsUserPoolClient: true
      CallbackURLs: !Ref CallbackURLs
      LogoutURLs: !Ref LogoutURLs
      ClientName: public client
      SupportedIdentityProviders:
        - COGNITO
        - !Ref CognitoUserPoolIdentityProvider
      UserPoolId: !Ref CognitoUserPool
Deploy the CloudFormation stack by running the following command. Before running, replace <SAML_METADATA_URL> with the actual value copied above.
aws cloudformation deploy \
  --template-file cognito.yaml \
  --stack-name amplify-with-cognito-and-entra-id \
  --parameter-overrides Domain=$(uuidgen | tr "[:upper:]" "[:lower:]") MetadataURL='<SAML_METADATA_URL>'
Updating Entra ID SAML Configuration
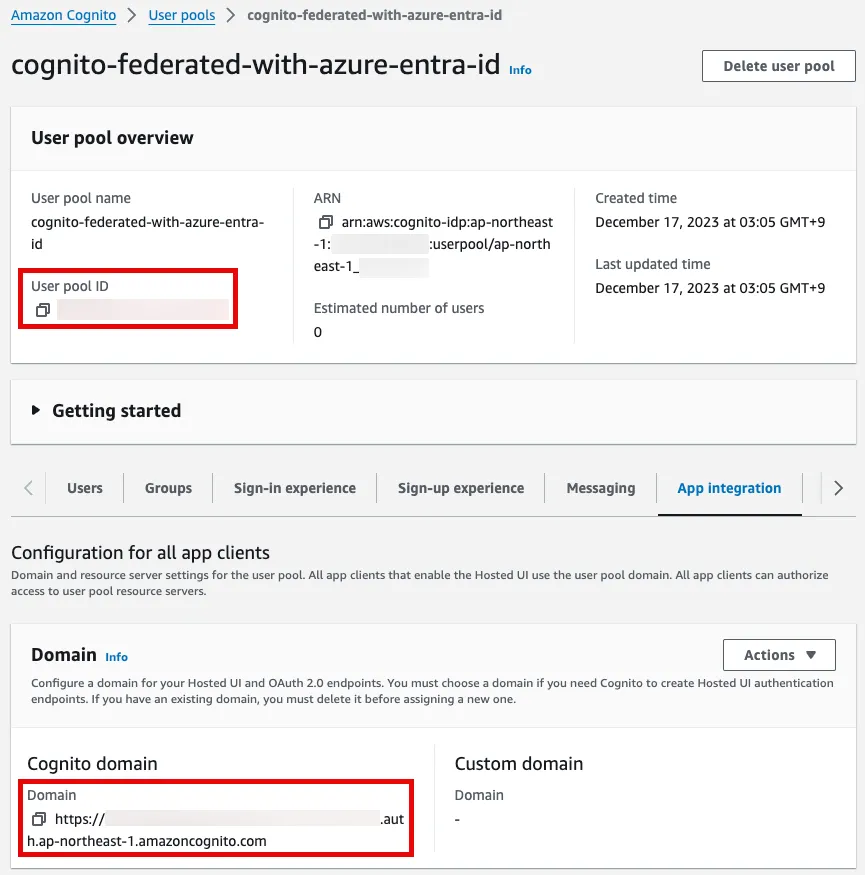
Check the User pool ID and the Cognito domain prefix in the Cognito management console.
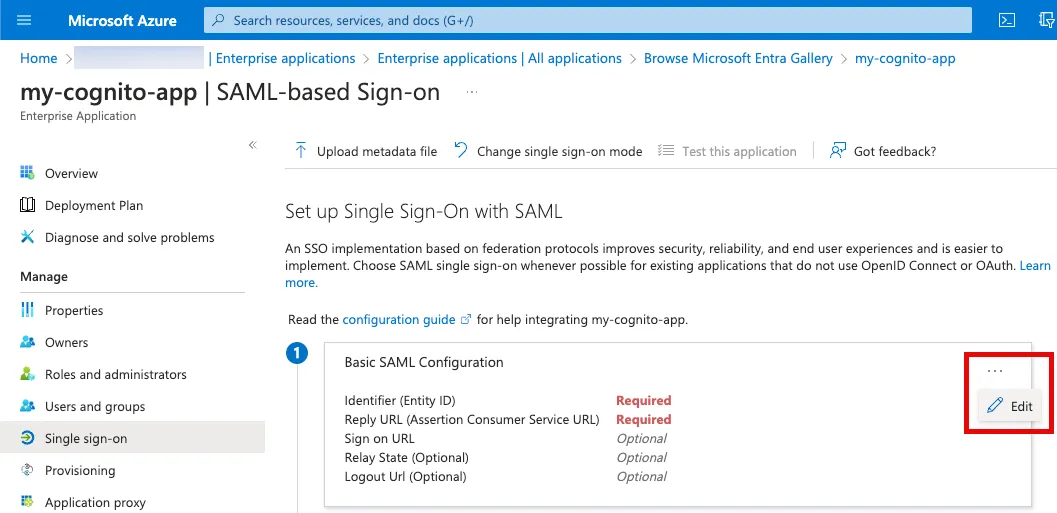
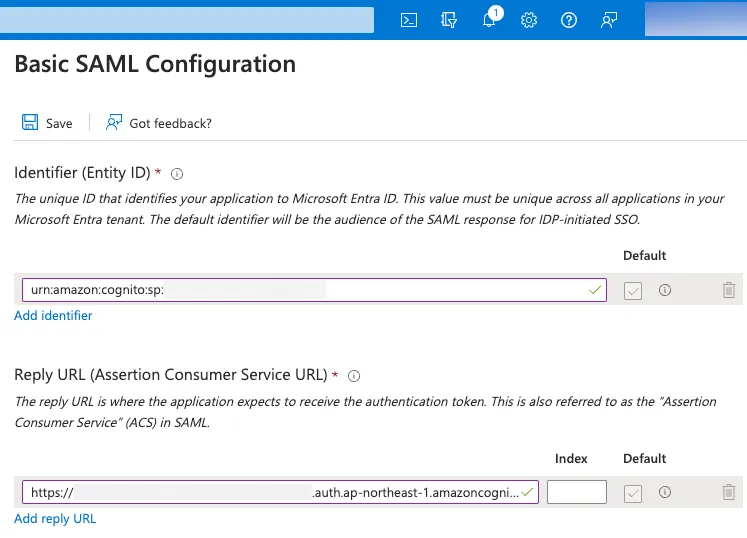
Edit the SAML configuration.
Add an Entity ID and a Reply URL according to the following table. For more information about these values, please refer to an official documentation.
| Key | Value |
|---|---|
| Entity ID | urn:amazon:cognito:sp:<your user pool ID> |
| Reply URL | https://<yourDomainPrefix>.auth.<region>.amazoncognito.com/saml2/idpresponse |
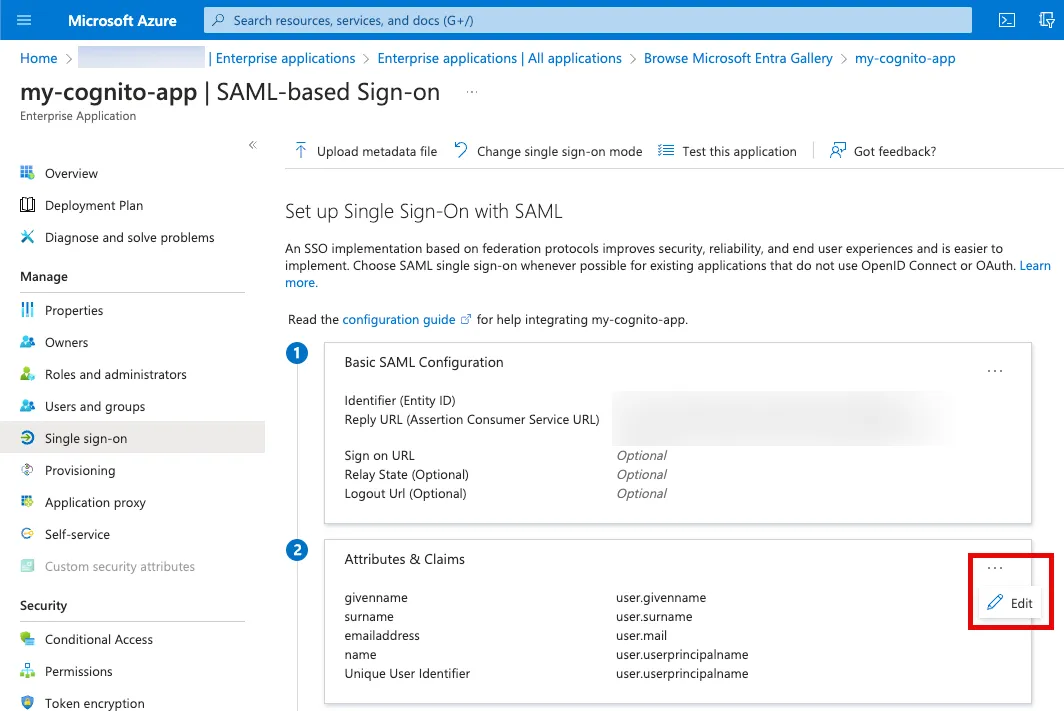
Edit attributes and claims.
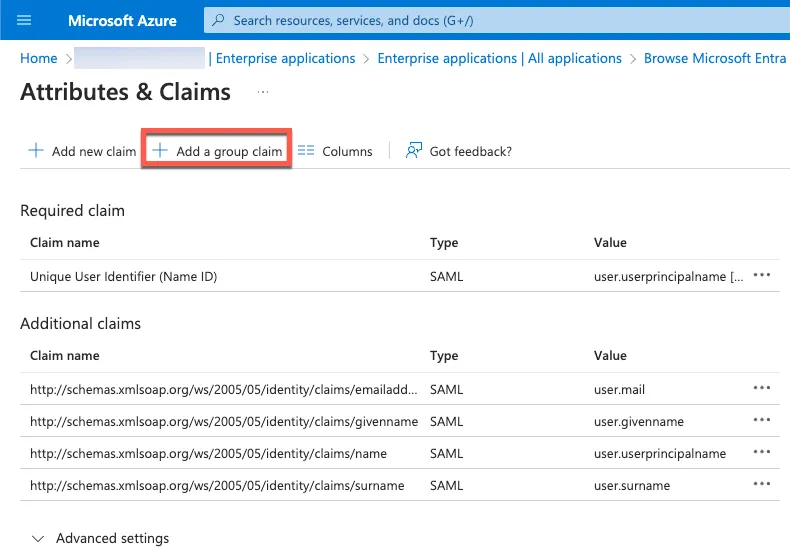
Click Add a group claim.
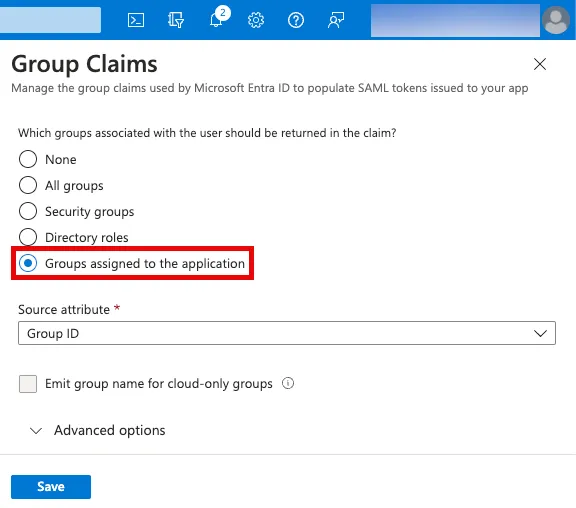
Select Groups assigned to the application.
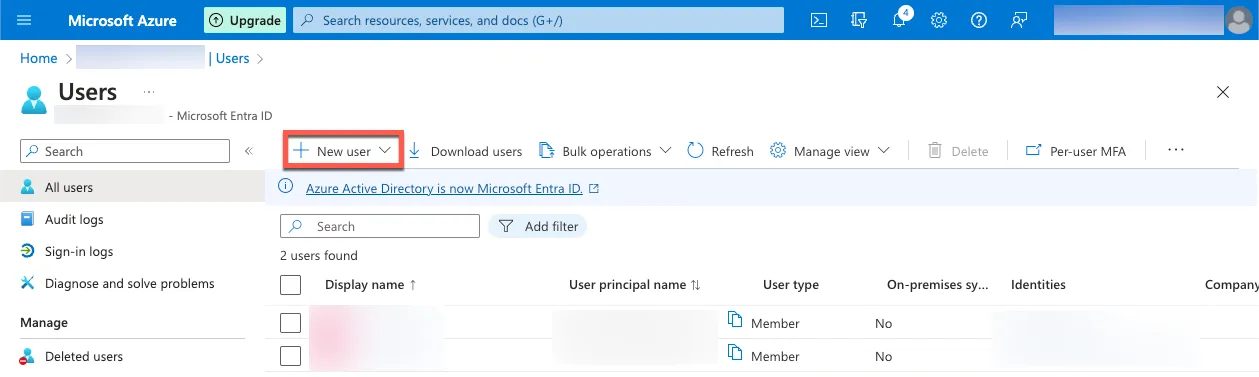
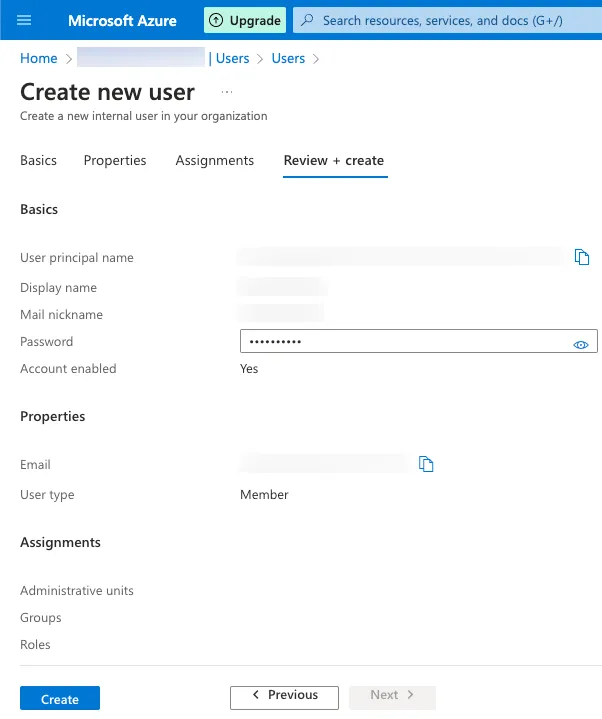
Creating User
Create a user to the Entra ID according to the following steps.
Click New user.
Enter values as you like.
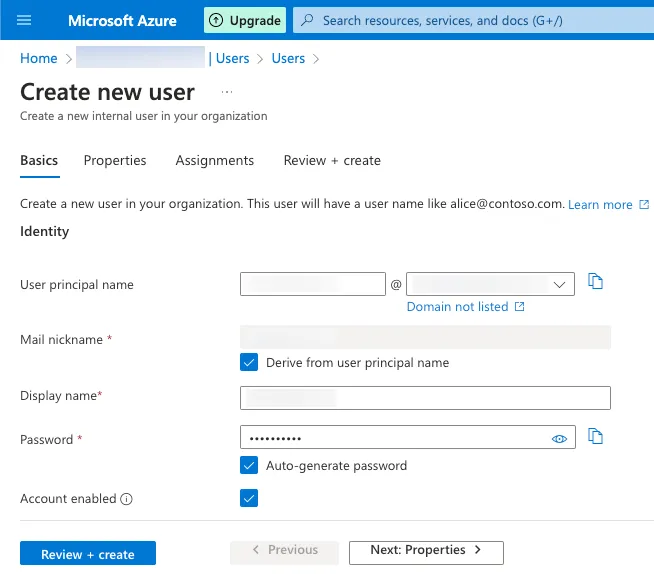
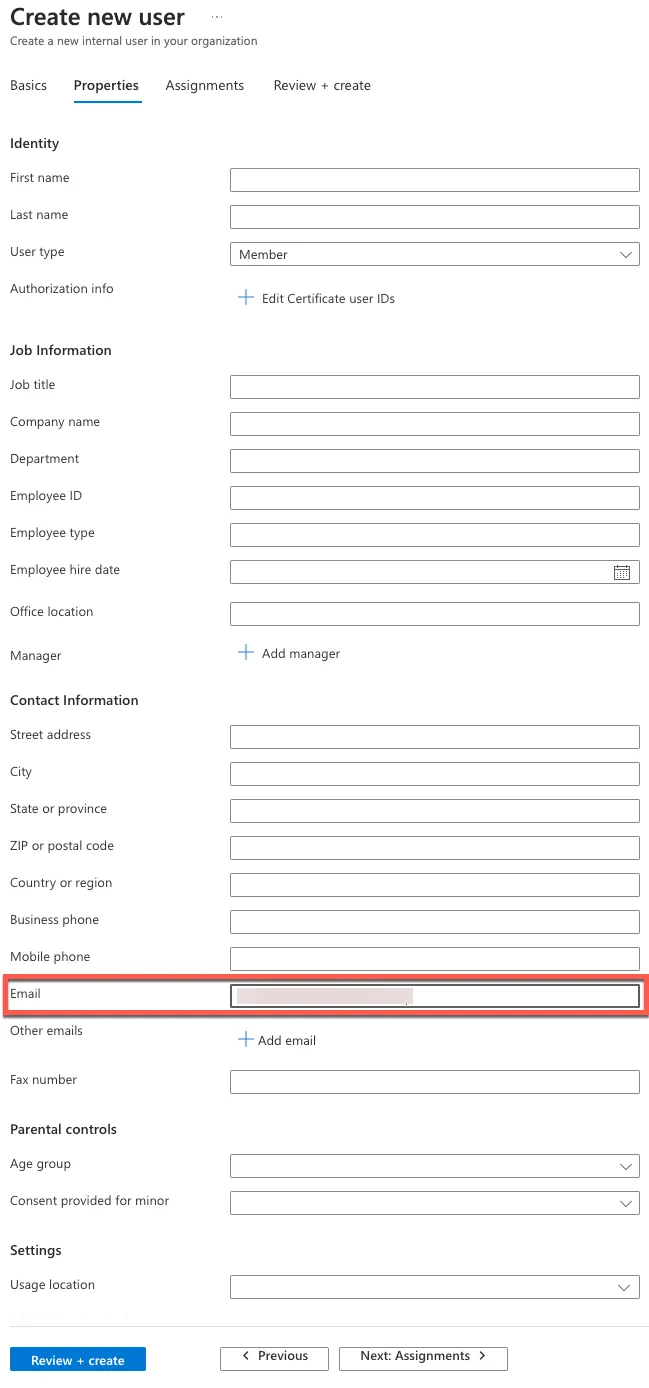
Enter an email address.
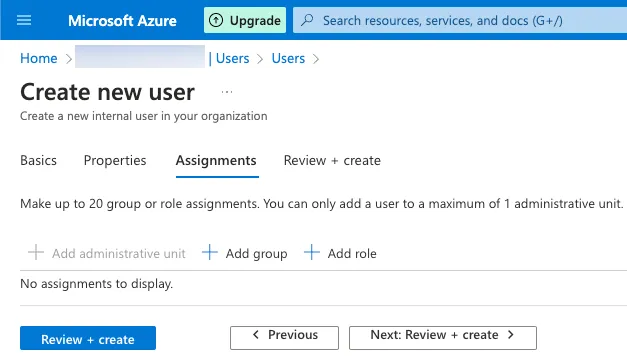
Skip Assignments tab.
Complete creating the user.
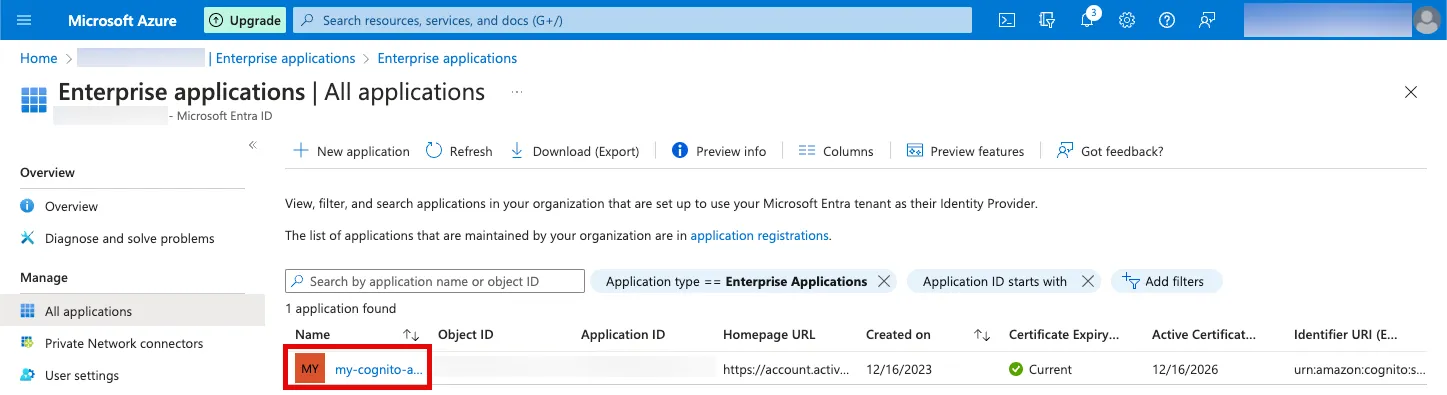
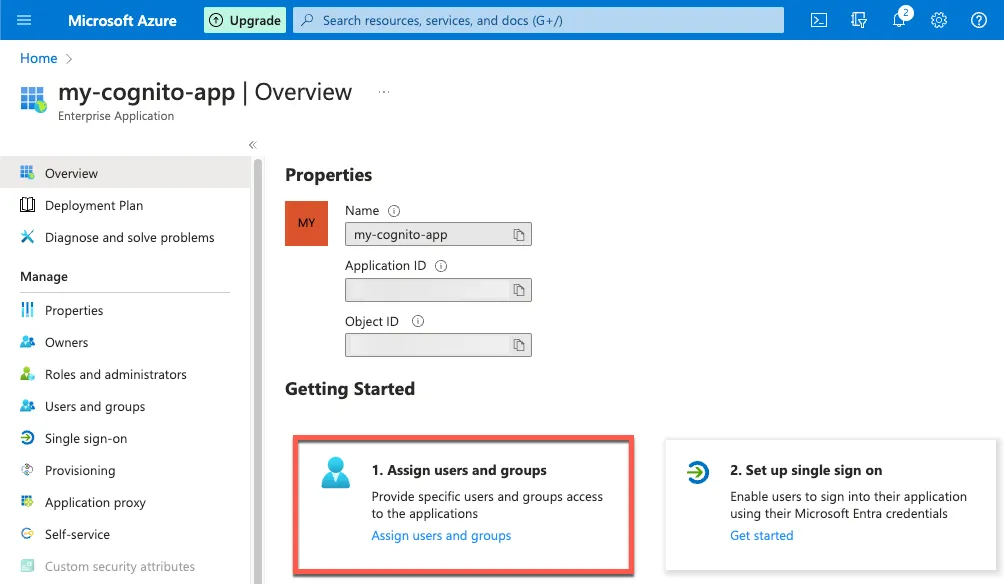
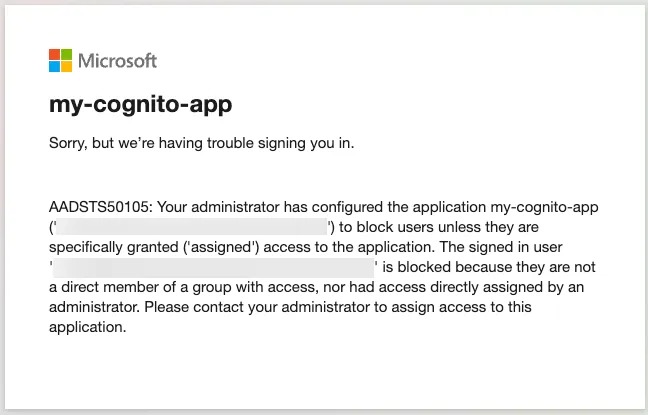
Assigning User
Select my-cognito-app in your enterprise applications.
Select Assign users and groups.
Select Add user/group.
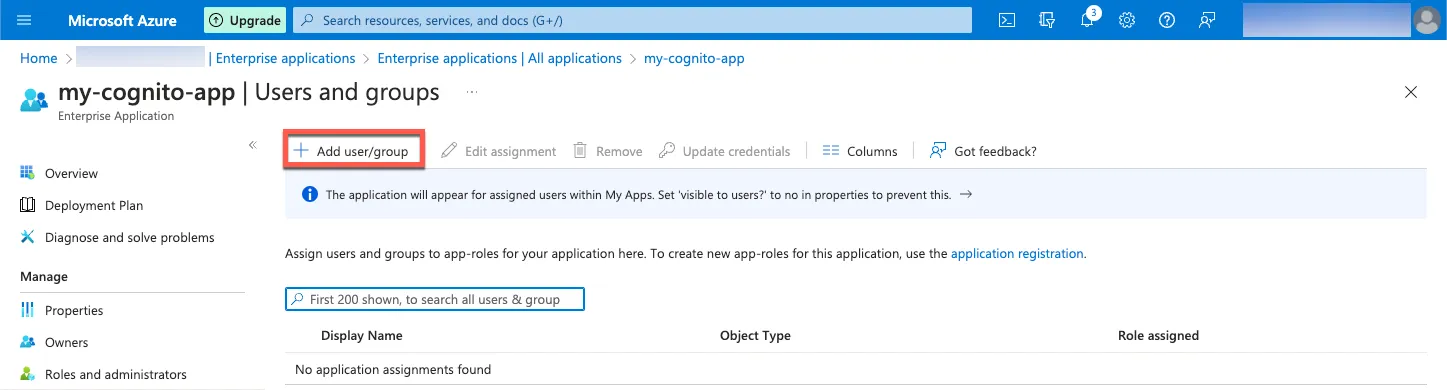
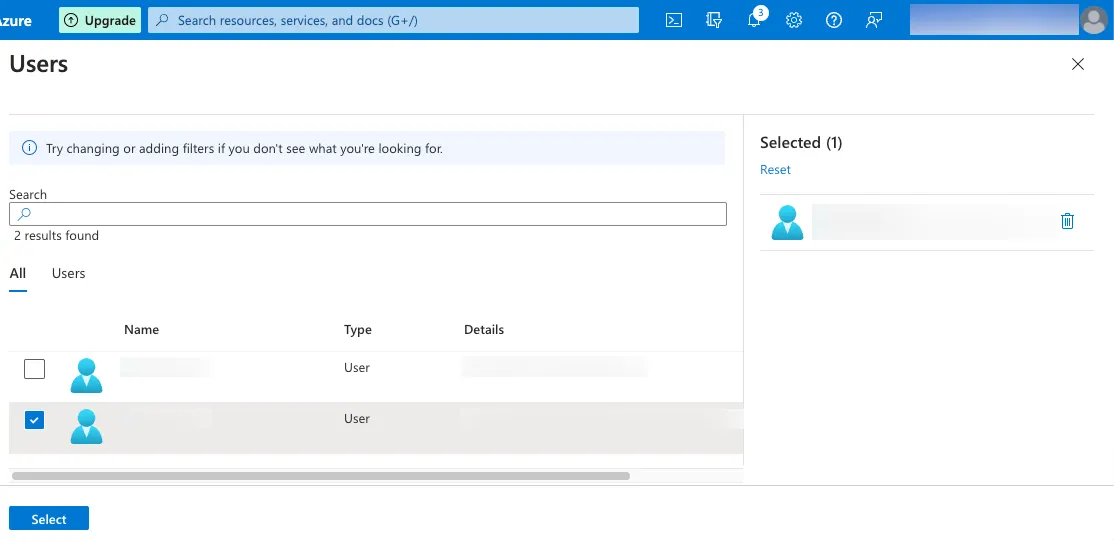
Select users to assign.
React App
Creating App
To create a frontend app, this post uses Next.js. Create the app using npx create-next-app@latest with the following options.
npx create-next-app@latest
✔ What is your project named? … amplify-with-cognito-and-entra-id
✔ Would you like to use TypeScript? … Yes
✔ Would you like to use ESLint? … Yes
✔ Would you like to use Tailwind CSS? … Yes
✔ Would you like to use `src/` directory? … Yes
✔ Would you like to use App Router? (recommended) … Yes
✔ Would you like to customize the default import alias (@/*)? … Yes
✔ What import alias would you like configured? … @/*
Change a working directory to the project root and install AWS Amplify with the following command.
npm i aws-amplify
Creating Env File
Create .env.local with the following content. Make sure to replace the following placeholders with the actual values.
<USER_POOL_ID><USER_POOL_CLIENT_ID><DOMAIN_PREFIX>
NEXT_PUBLIC_USER_POOL_ID=<USER_POOL_ID>
NEXT_PUBLIC_USER_POOL_CLIENT_ID=<USER_POOL_CLIENT_ID>
NEXT_PUBLIC_USER_POOL_ID_PROVIDER=azure-entra-id
NEXT_PUBLIC_OAUTH_DOMAIN=<DOMAIN_PREFIX>.auth.ap-northeast-1.amazoncognito.com
Updating Page
Update src/app/page.tsx with the following content.
'use client'

import { useEffect, useState } from 'react';
import { Amplify } from 'aws-amplify';
import { FetchUserAttributesOutput, fetchUserAttributes, getCurrentUser, signInWithRedirect, signOut } from 'aws-amplify/auth';

Amplify.configure({
  Auth: {
    Cognito: {
      userPoolId: process.env.NEXT_PUBLIC_USER_POOL_ID as string,
      userPoolClientId: process.env.NEXT_PUBLIC_USER_POOL_CLIENT_ID as string,
      loginWith: {
        oauth: {
          domain: process.env.NEXT_PUBLIC_OAUTH_DOMAIN as string,
          scopes: [
            'email',
            'openid',
            'aws.cognito.signin.user.admin',
          ],
          redirectSignIn: ['http://localhost:3000/'],
          redirectSignOut: ['http://localhost:3000/'],
          responseType: 'code',
        },
      },
    },
  },
});

export default function Home() {
  const [attributes, setAttributes] = useState<FetchUserAttributesOutput>();

  useEffect(() => {
    (async () => {
      try {
        await getCurrentUser();
        const attributes = await fetchUserAttributes();
        setAttributes(attributes);
      } catch (error) {
        await signInWithRedirect({ provider: { custom: process.env.NEXT_PUBLIC_USER_POOL_ID_PROVIDER as string } });
      }
    })();
  }, []);

  return (
    <div className='flex flex-col gap-2 max-w-sm mx-auto my-4'>
      <div className='flex gap-2'>
        <div>Sub:</div>
        <div>{attributes?.sub}</div>
      </div>

      <div className='flex gap-2'>
        <div>Name:</div>
        <div>{attributes?.name}</div>
      </div>

      <div className='flex gap-2'>
        <div>Email:</div>
        <div>{attributes?.email}</div>
      </div>

      <button
        type="button"
        className="text-white bg-blue-700 hover:bg-blue-800 focus:ring-4 focus:ring-blue-300 font-medium rounded-lg text-sm px-5 py-2.5 me-2 mb-2 dark:bg-blue-600 dark:hover:bg-blue-700 focus:outline-none dark:focus:ring-blue-800"
        onClick={() => signOut()}
      >
        Sign out
      </button>
    </div>
  );
}
Testing
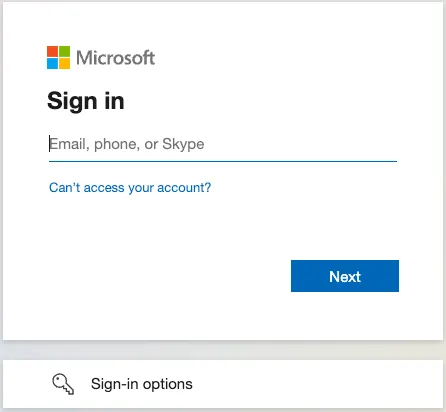
Start the development server by running npm run dev, open http://localhost:3000/ with your browser. You will be redirected to a sign in page.
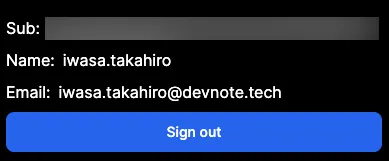
You can see the user attributes in the React app.
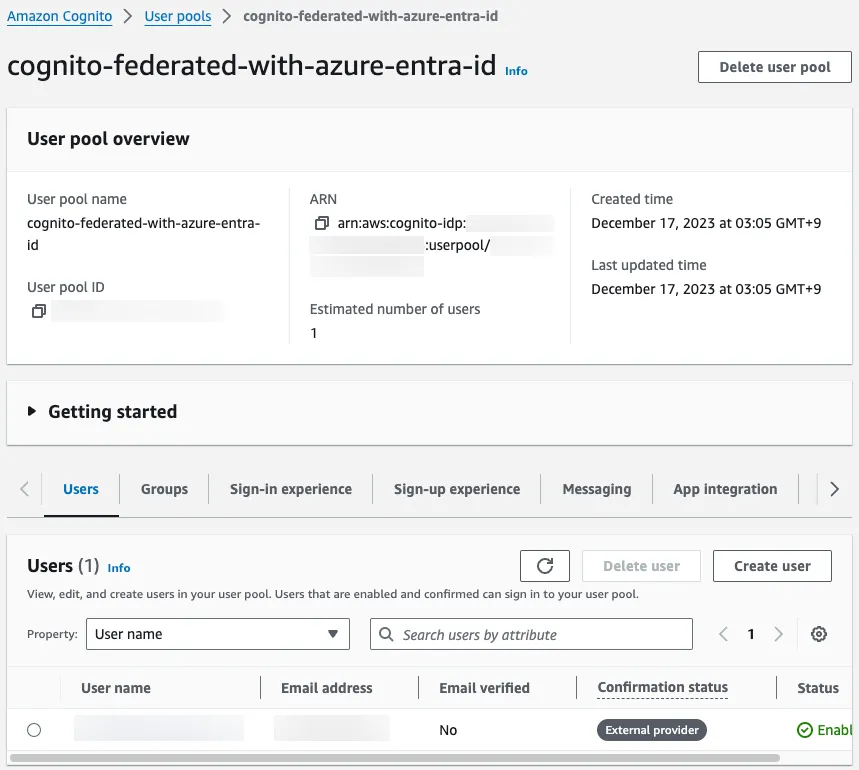
You can also check the user in the Cognito management console.
Cleaning Up
AWS
Clean up the provisioned AWS resources with the following command.
aws cloudformation delete-stack --stack-name amplify-with-cognito-and-entra-id
Azure
Delete the enterprise application and the created users manually.